3. DIY Balloon Garland
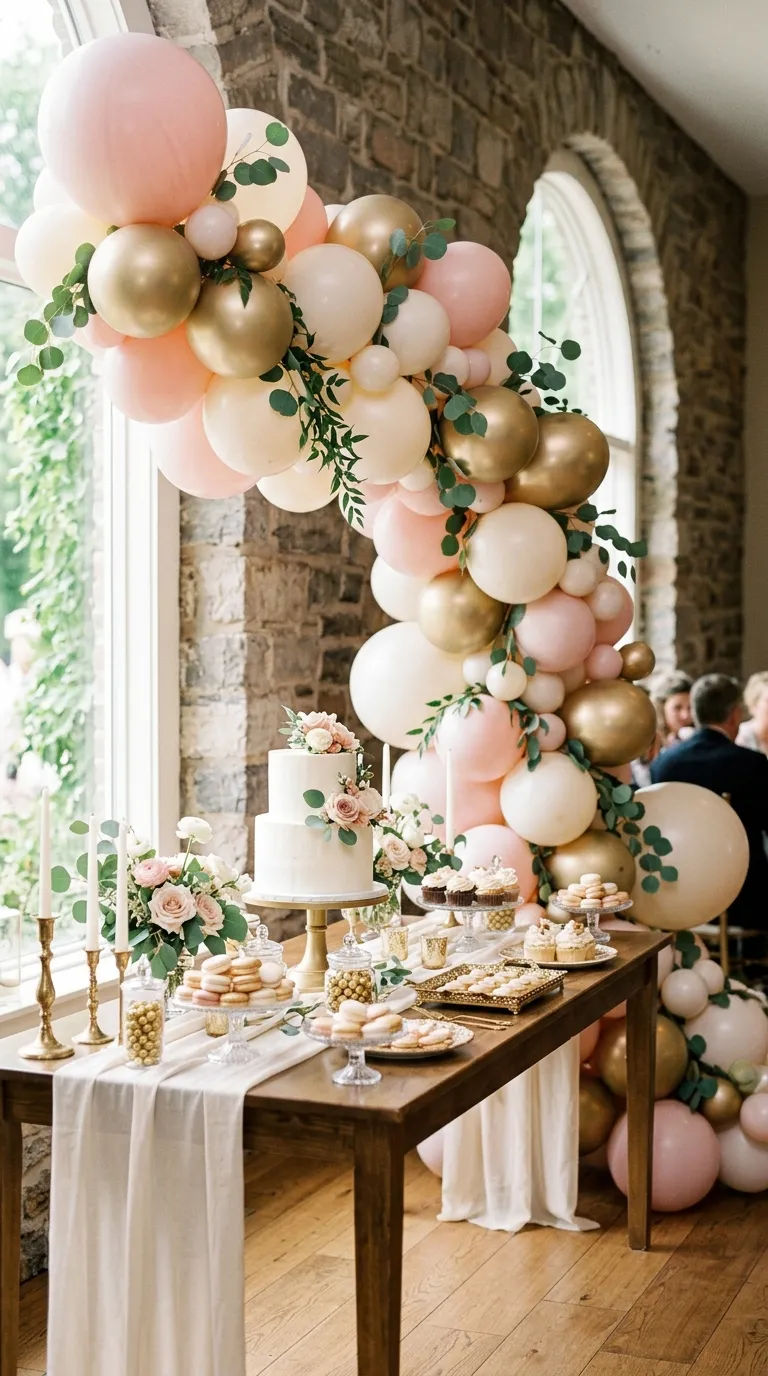
Balloon garlands have become a staple of modern celebrations, and they don’t require a professional installer to look great. With a little patience and the right supplies, you can build one that runs along a table, frames a doorway, or arches behind the dessert spread.
Materials
- Assorted balloons in 3 to 5 sizes (5-inch, 12-inch, 18-inch)
- Balloon strip tape or fishing line
- Hand pump or electric balloon inflator
- Command hooks or removable wall strips
- Optional: faux greenery, ribbon tails, or paper flowers to tuck in
Instructions
Blow up balloons in varying sizes and colors, and remember to leave a little extra room at the end of each one (don’t fully inflate). Balloons that are slightly under-inflated last longer and have a softer, rounder shape. Thread each balloon onto balloon strip tape, alternating sizes and colors for an organic look. The strip has holes pre-punched, so you just push the tied end through.
Hang the garland in loose curves rather than a stiff line. This gives it movement and a more relaxed, romantic feel. Tuck faux eucalyptus or sprigs of greenery between balloons for texture, and let a few ribbon strips hang down at the ends for a whimsical touch.
Time and difficulty: 2 to 3 hours for a 6-foot garland, beginner-friendly with patience.
Customization: Match the wedding color palette exactly, or use ombré by grouping lighter balloons on one end and darker on the other. For a more elegant feel, stick to two or three colors rather than five.
Common mistake to avoid: Skipping the Hi-Float treatment. A few drops inside each balloon before inflating helps them last through the entire event, especially if the shower is outside.