There is nothing quite like the experience of plucking fresh basil, rosemary, or mint directly from your own indoor garden while preparing a home-cooked meal. Beyond the obvious culinary benefits of having fresh, organic ingredients at your fingertips, keeping live plants in your home improves indoor air quality, boosts your mood, and adds a vibrant, natural aesthetic to your living space. However, for those living in apartments, townhomes, or houses with compact layouts, finding the space for a traditional garden can feel like an impossible challenge. Counter space is often at a premium, and windowsills can only hold so many small pots before they begin to look cluttered and disorganized.
Fortunately, limited square footage does not mean you have to sacrifice the luxury of a home herb garden. With a little creativity, some basic DIY skills, and an understanding of vertical space, you can transform even the smallest kitchen into a lush, productive green oasis. By utilizing underused areas such as bare walls, the sides of cabinets, window frames, and even the ceiling, you can grow a bountiful selection of culinary herbs without sacrificing a single inch of valuable countertop workspace. This comprehensive guide explores ten clever, stylish, and highly practical DIY herb garden projects specifically designed for small-scale kitchens, helping you maximize your space and elevate your culinary creations.
1. Vertical Mason Jar Wall Planter
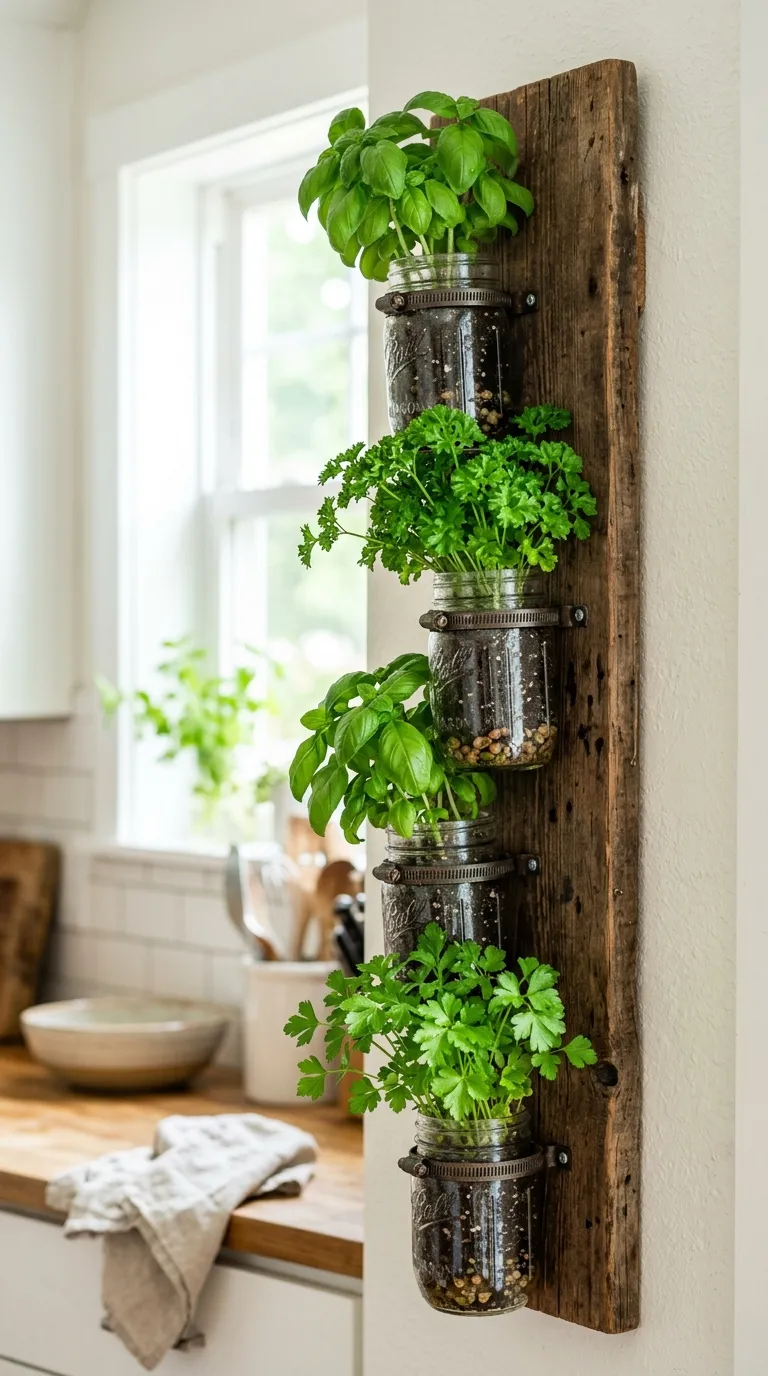
The classic vertical mason jar planter is a favorite among DIY enthusiasts for its rustic charm, affordability, and space-saving efficiency. By mounting glass jars onto a reclaimed wooden board, you can create a beautiful, living piece of wall art that keeps your favorite herbs organized and off your countertops. This project is highly customizable, allowing you to choose a wood stain or paint color that perfectly complements your kitchen decor. It is particularly well-suited for bright kitchen walls that receive plenty of indirect sunlight throughout the day.
To construct this planter, you will need a sturdy wooden board, several wide-mouth mason jars, stainless steel hose clamps, a drill, screws, and picture-hanging hardware. Start by sanding and staining or painting your wooden board. Once dry, determine the spacing of your jars and screw the hose clamps directly into the wood. Slide the jars into the clamps and tighten them securely with a screwdriver. Because mason jars do not have built-in drainage holes, it is absolutely critical to place a one-inch layer of small pebbles, charcoal, or pea gravel at the bottom of each jar before adding potting soil. This layer acts as a reservoir for excess water, preventing root rot and keeping your rosemary, thyme, and oregano healthy and thriving.