Creating a backyard pond is one of the most rewarding DIY projects you can take on. Not only does it elevate your garden aesthetically, but it also brings a sense of calm, attracts wildlife, and increases your home’s overall appeal. Whether you have a small yard or a spacious garden, there’s a pond idea that can fit your space and budget.
This guide walks you through 10 creative DIY backyard pond ideas, each designed to be beginner-friendly, budget-conscious, and Pinterest-worthy. You’ll also find step-by-step instructions, materials lists, and pro tips to help you succeed.
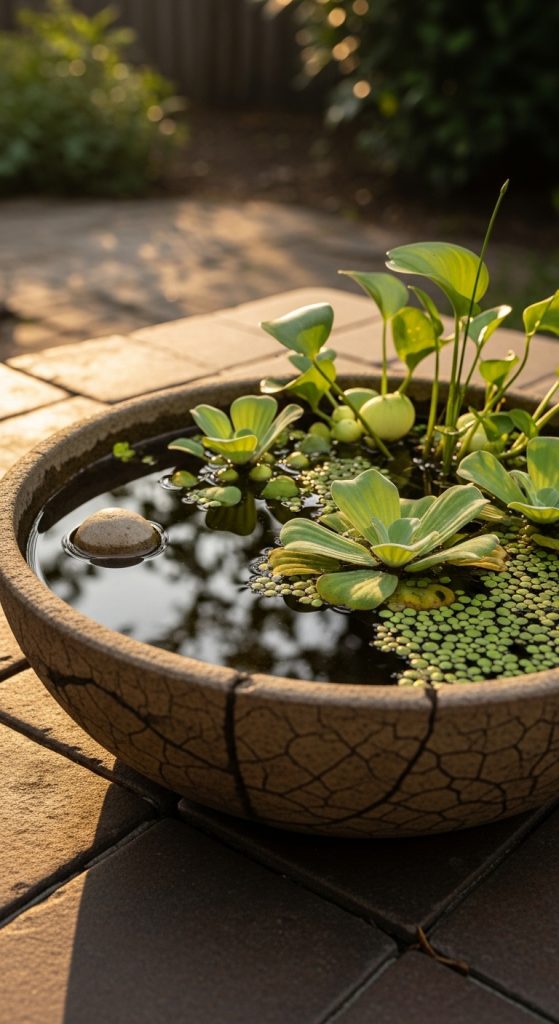
1. Mini Container Pond for Small Spaces
If you’re working with limited space, a container pond is the perfect starting point. It’s simple, affordable, and requires minimal maintenance.
Why It Works
Container ponds are ideal for patios, balconies, or small backyards. They allow you to enjoy water features without digging.
Materials Needed
- Large ceramic or plastic container
- Pond liner (optional for waterproofing)
- Aquatic plants (water lettuce, dwarf lilies)
- Small stones or gravel
- Water
How to Create
- Choose a container at least 12–18 inches deep.
- Line it if necessary to prevent leaks.
- Add a layer of gravel at the bottom.
- Fill with water and let it sit for 24 hours.
- Add aquatic plants and decorative stones.
Pro Tip
Place your container pond where it gets partial sunlight to prevent algae growth.
2. Natural Rock Garden Pond
A rock garden pond blends seamlessly into your landscape, creating a natural and organic look.
Why It Works
It mimics nature and pairs beautifully with plants and waterfalls.
Materials Needed
- Pond liner
- Assorted rocks and boulders
- Sand
- Water pump (optional)
- Native plants
How to Create
- Dig a shallow basin in your yard.
- Add sand as a base layer.
- Install the pond liner securely.
- Arrange rocks around and inside the pond.
- Fill with water and add plants.
Pro Tip
Use varying rock sizes to create a more natural appearance.
3. Raised Wooden Pond
A raised pond is perfect if you want something modern and easy to maintain.
Why It Works
It’s accessible, stylish, and safer for households with kids or pets.
Materials Needed
- Wooden planks
- Screws and drill
- Pond liner
- Sealant
- Decorative stones
How to Create
- Build a rectangular or square wooden frame.
- Line the inside with pond liner.
- Secure edges tightly.
- Fill with water and decorate.
Pro Tip
Use weather-resistant wood like cedar to increase durability.
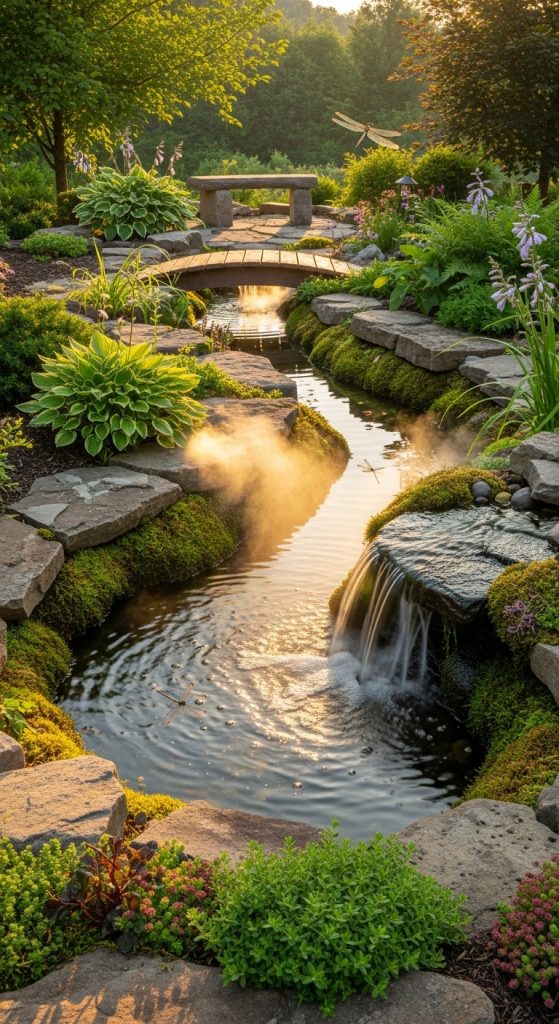
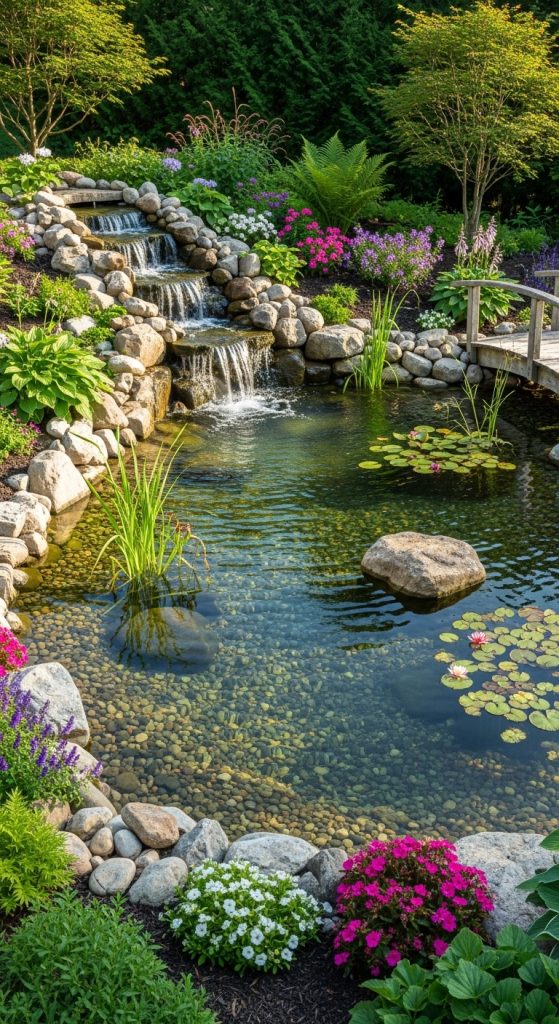
4. DIY Pond with Waterfall Feature
Adding a waterfall instantly upgrades your pond into a tranquil retreat.
Why It Works
The sound of flowing water creates a relaxing environment and helps oxygenate the pond.
Materials Needed
- Pond liner
- Water pump
- Tubing
- Rocks
- Gravel
How to Create
- Build a pond base as usual.
- Install a water pump at the bottom.
- Use rocks to create a cascading waterfall structure.
- Hide tubing beneath rocks.
Pro Tip
Position the waterfall where it’s visible from your seating area.
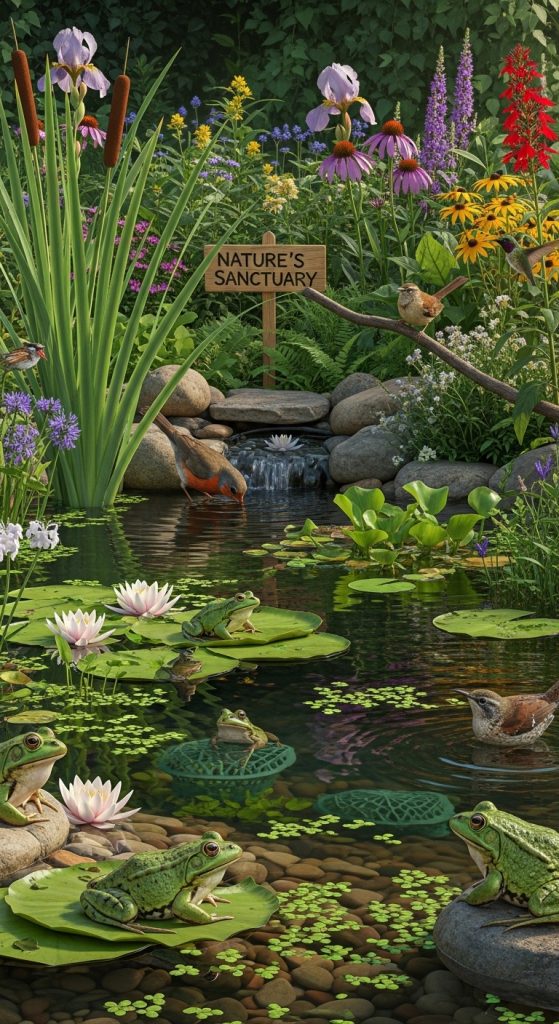
5. Wildlife-Friendly Pond
This pond is designed to attract birds, frogs, and beneficial insects.
Why It Works
It supports biodiversity and creates a thriving ecosystem in your backyard.
Materials Needed
- Pond liner
- Native aquatic plants
- Stones for shallow edges
- Logs or branches
How to Create
- Dig a pond with varying depths.
- Create shallow edges for easy wildlife access.
- Add native plants.
- Avoid chemicals.
Pro Tip
Include a small ramp or stones so animals can safely enter and exit.
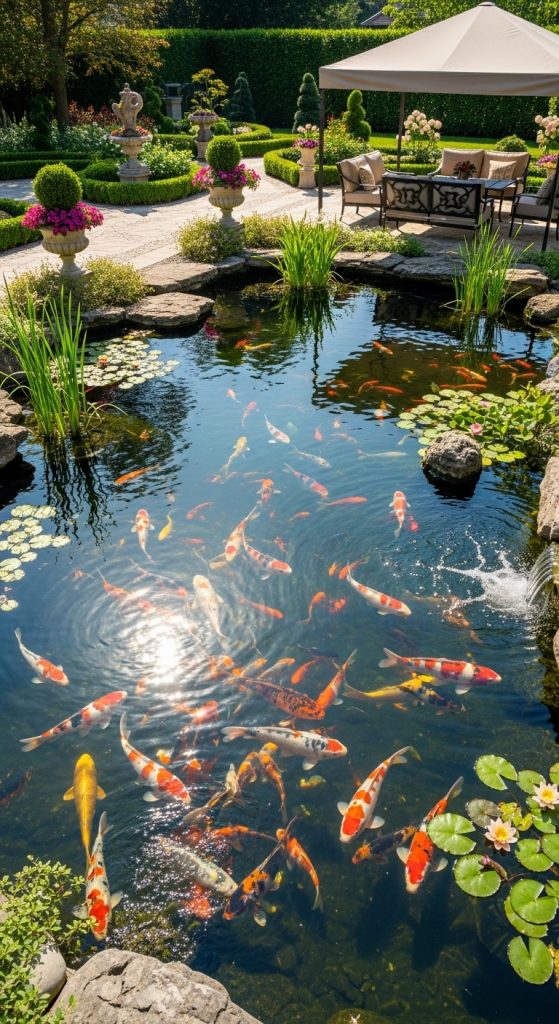
6. Koi Fish Pond
A koi pond adds elegance and becomes a stunning focal point.
Why It Works
Koi fish bring color, movement, and life to your garden.
Materials Needed
- Deep pond liner
- Filtration system
- Aerator
- Rocks and plants
How to Create
- Dig a pond at least 3 feet deep.
- Install liner and filtration system.
- Fill with water and treat it.
- Introduce koi fish gradually.
Pro Tip
Avoid overcrowding—koi need space to grow.
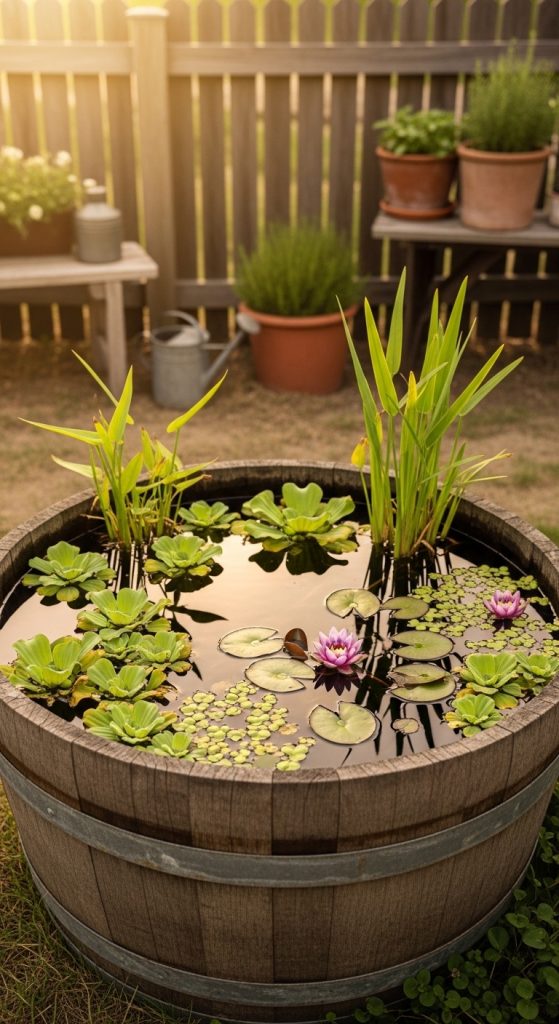
7. Rustic Barrel Pond
A half whiskey barrel pond adds charm and rustic vibes.
Why It Works
It’s quick to set up and perfect for farmhouse-style gardens.
Materials Needed
- Wooden barrel
- Pond liner
- Aquatic plants
- Small fountain pump (optional)
How to Create
- Line the inside of the barrel.
- Fill with water.
- Add plants and optional fountain.
Pro Tip
Seal the barrel properly to prevent leaks.
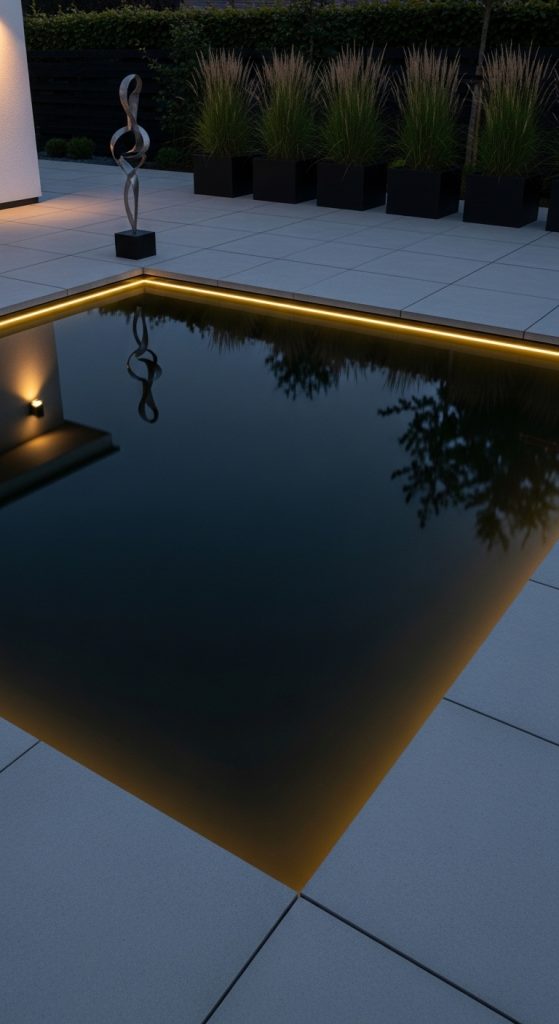
8. Modern Minimalist Pond
Clean lines and simplicity define this sleek pond style.
Why It Works
Perfect for contemporary homes and structured landscapes.
Materials Needed
- Preformed pond mold or concrete
- Black liner
- Minimal plants
- LED lighting
How to Create
- Install a geometric-shaped pond.
- Use dark materials for a reflective surface.
- Add subtle lighting.
Pro Tip
Keep decorations minimal for a modern aesthetic.
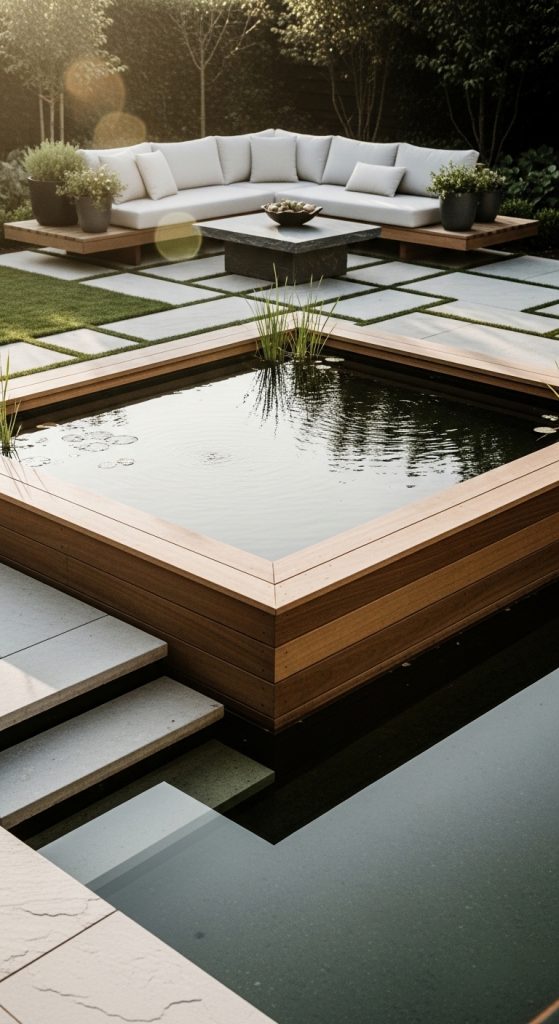
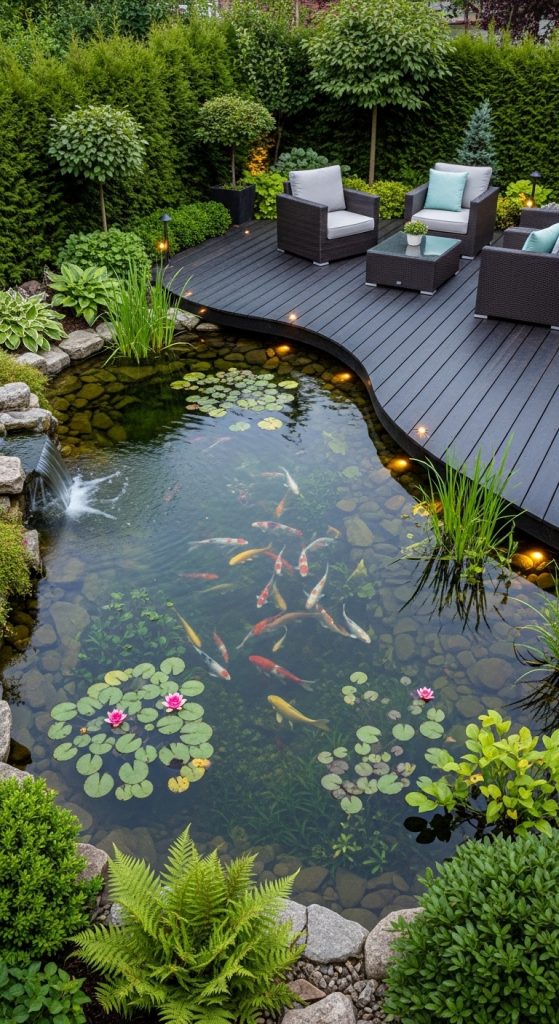
9. Pond with Wooden Deck Integration
Combine your pond with a deck for a luxury outdoor feel.
Why It Works
It creates a seamless entertainment space.
Materials Needed
- Pond liner
- Wooden decking materials
- Screws and tools
- Lighting
How to Create
- Build a pond first.
- Construct decking around or over part of it.
- Add seating or railings.
Pro Tip
Use non-slip decking for safety.
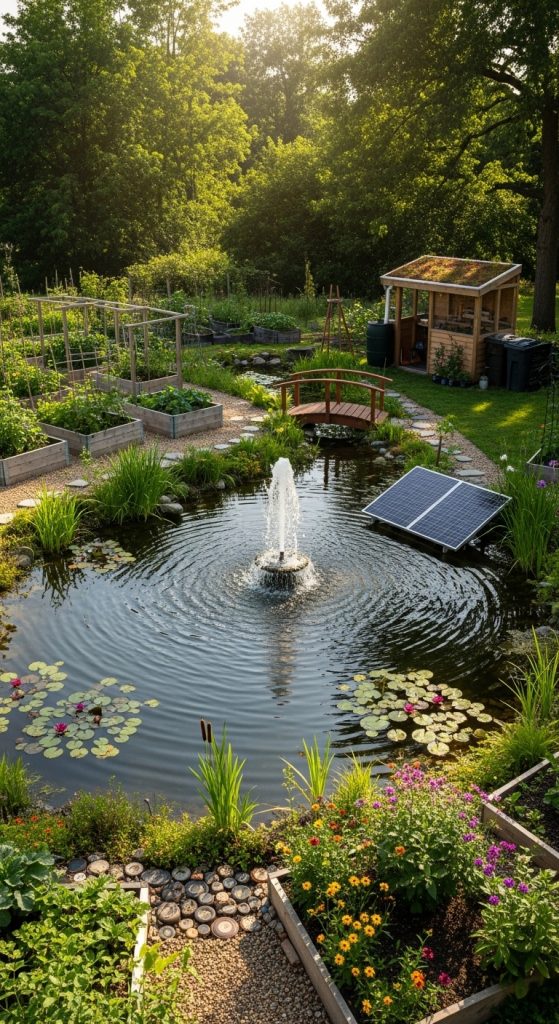
10. Solar-Powered Eco Pond
An eco-friendly pond powered by solar energy.
Why It Works
Saves energy and reduces electricity costs.
Materials Needed
- Solar pump
- Pond liner
- Plants
- Stones
How to Create
- Install your pond base.
- Set up the solar pump in a sunny location.
- Add plants and decorations.
Pro Tip
Ensure your solar panel gets direct sunlight for best performance.
Final Thoughts
DIY backyard ponds are more than just decorative features—they’re a way to bring nature closer to home. Whether you choose a simple container pond or a full-scale koi paradise, each project adds beauty, tranquility, and value to your outdoor space.
Start small if you’re a beginner, and gradually experiment with more complex designs. The key is to plan carefully, use quality materials, and enjoy the process.