The art of macrame has experienced a massive revival in recent years, transforming from a nostalgic 1970s craft into a staple of modern bohemian interior design. Utilizing simple cotton cords and a series of basic knots, anyone can create stunning, textured wall art that adds warmth, depth, and character to a room. If you have ever stared at a beautifully intricate woven wall hanging in a boutique and wondered if you could make it yourself, the answer is a resounding yes. Macrame is incredibly forgiving, highly accessible, and requires very few specialized tools to get started.
For beginners, the key to success lies in mastering a few fundamental knots: the Lark’s Head knot, the Square knot, and the Double Half Hitch knot. Once you understand the mechanics of these three core techniques, you can combine them in endless variations to produce unique, professional-looking home decor. In this comprehensive guide, we will explore ten creative, beginner-friendly DIY macrame wall hanging projects. Each idea is designed to build your confidence, develop your muscle memory, and leave you with a gorgeous piece of handmade art to display proudly in your home.
1. The Simple Lark’s Head Fringe Hanging
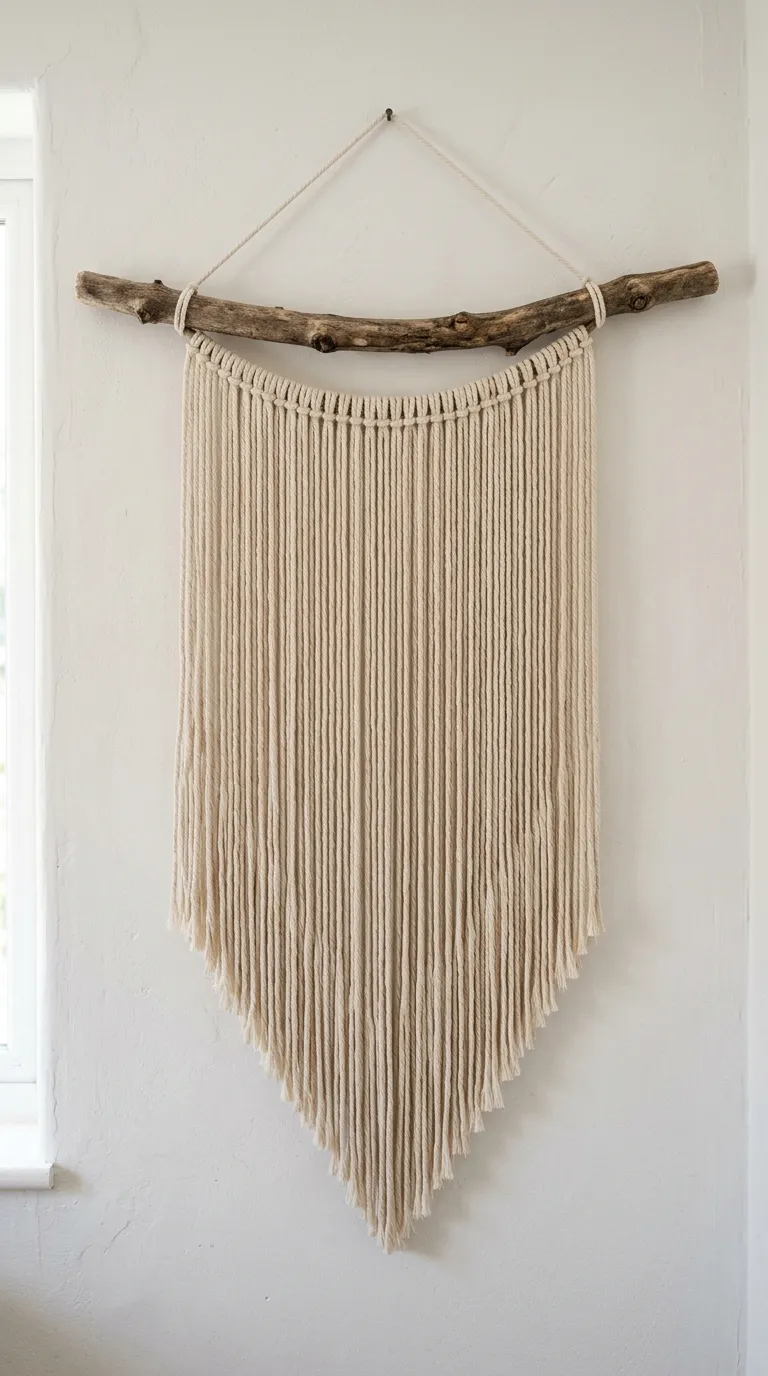
If you have never touched macrame cord before, the Simple Lark’s Head Fringe Hanging is the perfect starting point. This project focus entirely on the absolute first step of almost every macrame piece: mounting your cords to a support. By using a natural wooden dowel or a rustic fallen branch, you will learn how to measure, cut, and secure your cords using the fundamental Lark’s Head knot. This project requires no complex knotting patterns, making it an excellent way to get a feel for working with the fiber and understanding how cord thickness affects the overall drape of your piece.
To create this minimalist design, cut several strands of single-twist cotton cord to your desired length. Fold each strand in half, loop the folded center over your dowel, and pull the loose ends through the loop to tighten. Repeat this process across the length of your support until you achieve a thick, dense curtain of fiber. To give this simple piece a professional, polished look, use a sharp pair of fabric shears to cut the bottom of the fringe into a clean, geometric shape, such as a sharp V-shape, a gentle curve, or a dramatic diagonal slant. This project teaches patience, symmetry, and the art of precision trimming.