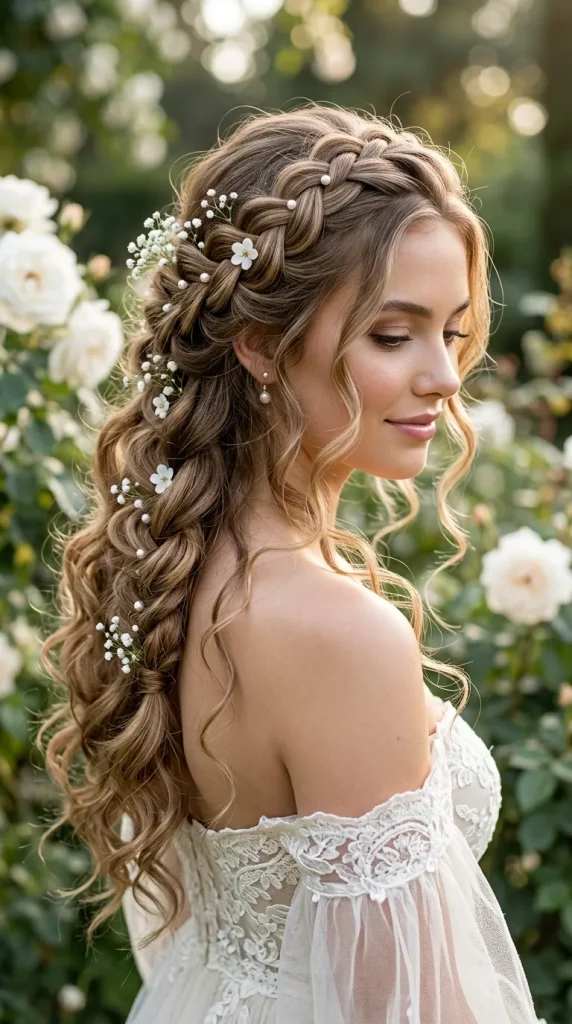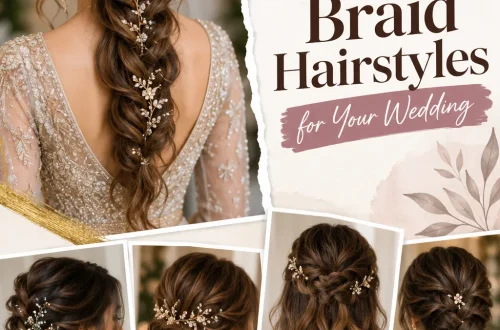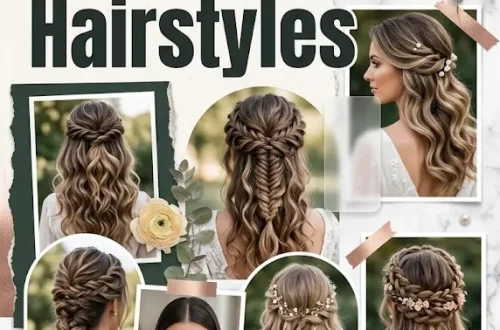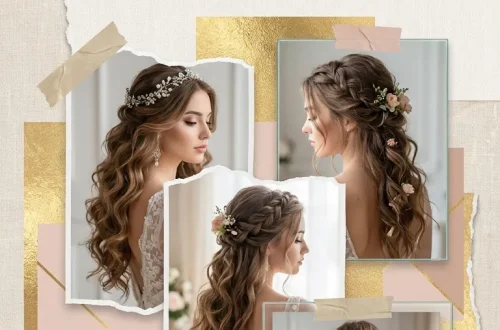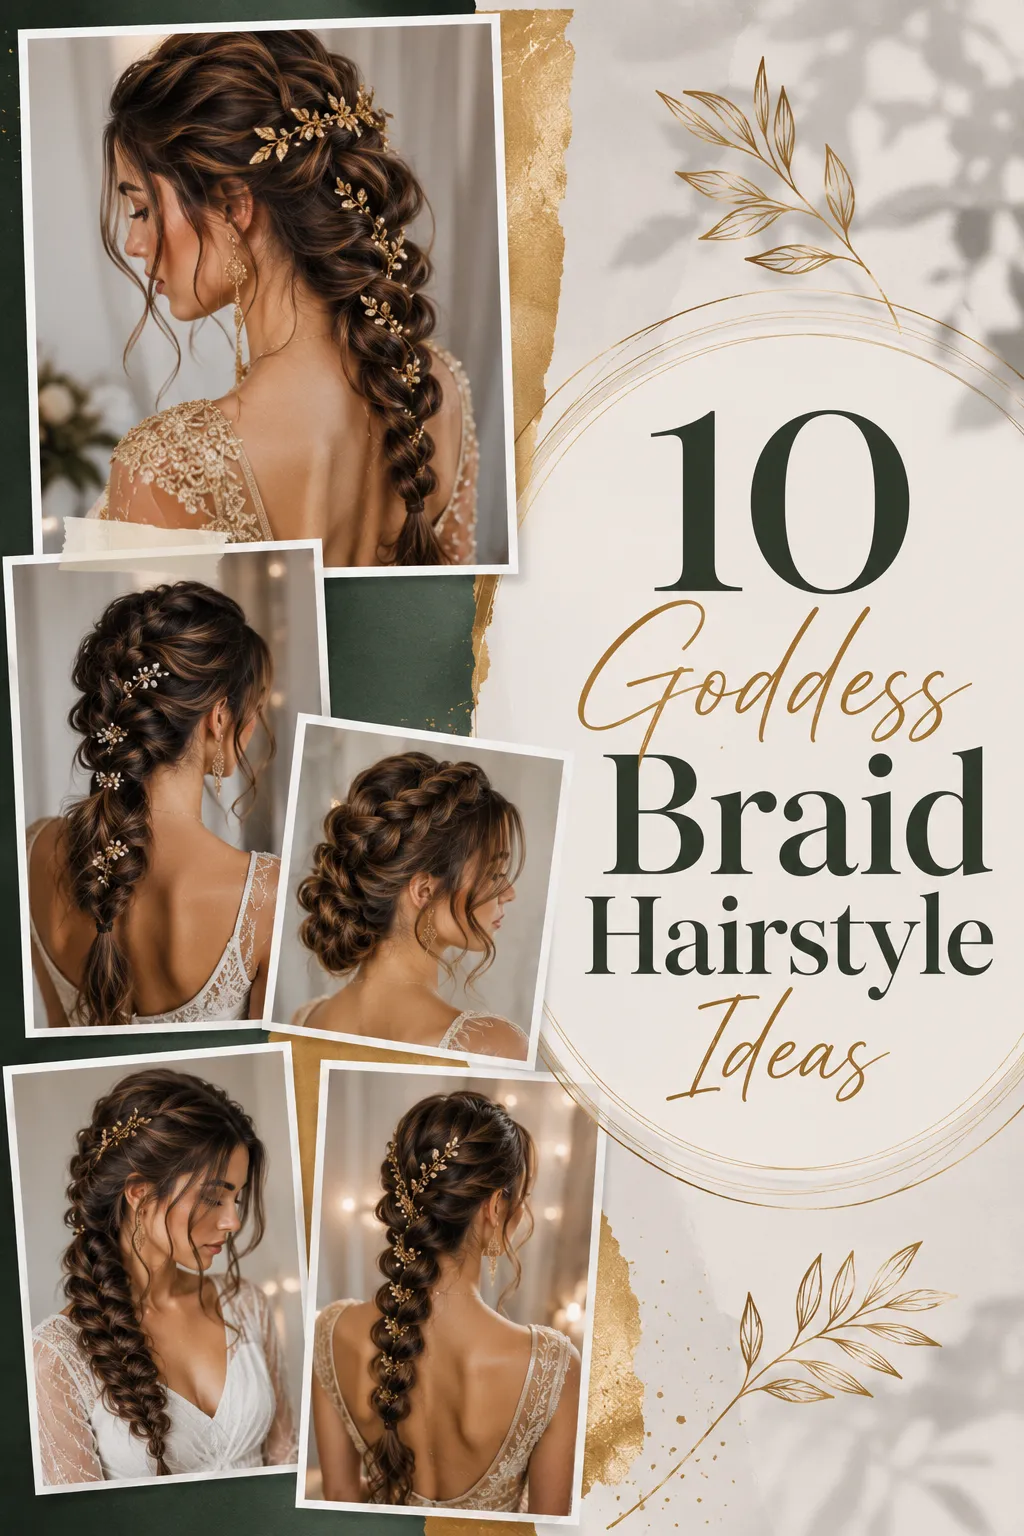
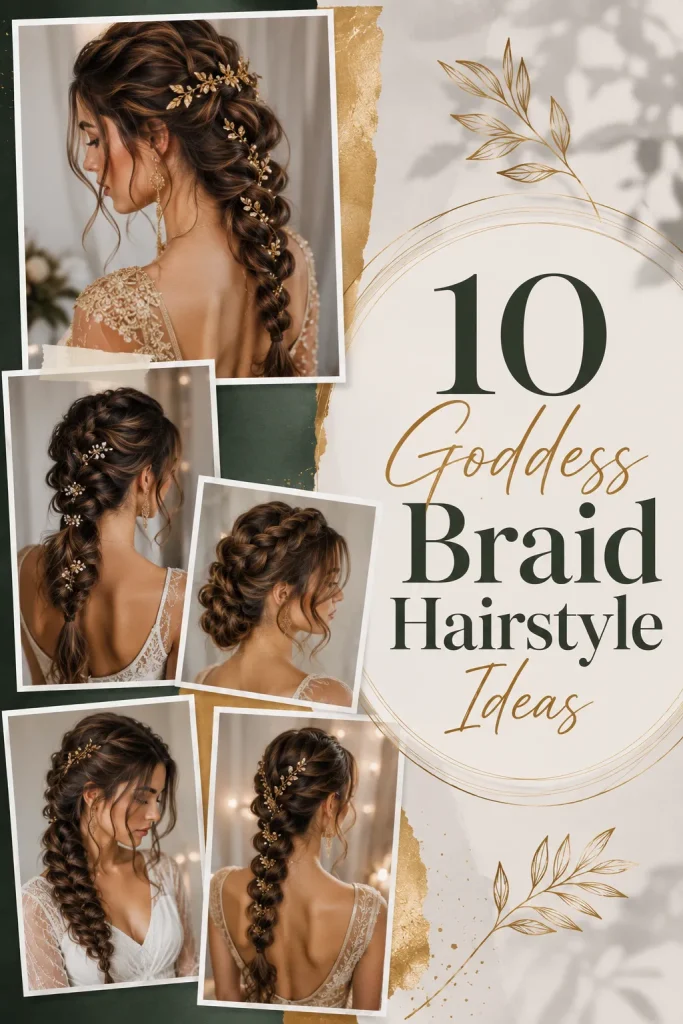
Goddess braids are the ultimate fusion of regal elegance and protective styling. Characterized by their larger-than-life scale and intricate, flowing patterns, these braids offer a look that is both powerful and deeply feminine. Unlike traditional cornrows, goddess braids—often called “boho” or “mermaid” braids—frequently incorporate loose, curly ends or tendrils that add a soft, romantic dimension to the style. Whether you are looking for a sleek, high-fashion updo or a relaxed, beach-ready look, goddess braids serve as an exquisite canvas for beads, cuffs, and gold hair jewelry. Here are ten stunning ideas to inspire your next protective style.
1. Crown of Majesty
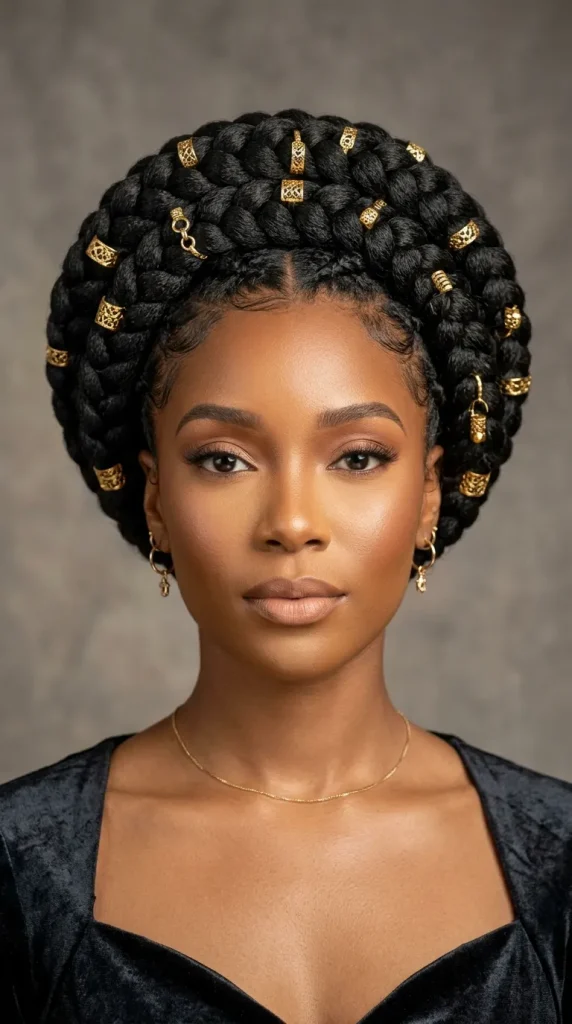
This style is designed for those who want to feel like royalty. Two large, thick goddess braids are swept up and around the crown of the head, creating a halo effect. The ends of the braids are left slightly loose or tucked in neatly to maintain a clean silhouette. This look is incredibly versatile; it keeps hair away from the face, making it ideal for formal events, weddings, or a high-impact daily look. The key to this style is the symmetry and the smooth transition of the braids from the nape to the crown.
How to Make
Begin by parting your hair in the center. Create two large, thick goddess braids starting from the nape of your neck and working upward toward the forehead. Ensure the tension is consistent to achieve a smooth, uniform appearance. Once the braids reach the top of the head, cross them over one another and pin them securely into place using large, sturdy hairpins. Smooth down any flyaways with a light-hold edge control gel. You can add gold-toned hair cuffs along the length of the braids to elevate the look for a formal occasion.
Things Needed
- Edge control gel
- Large hairpins
- Gold hair cuffs
- Tail comb for precise parting
- Leave-in conditioning spray
- Silk scarf for setting the style
2. Mermaid Goddess Ponytail
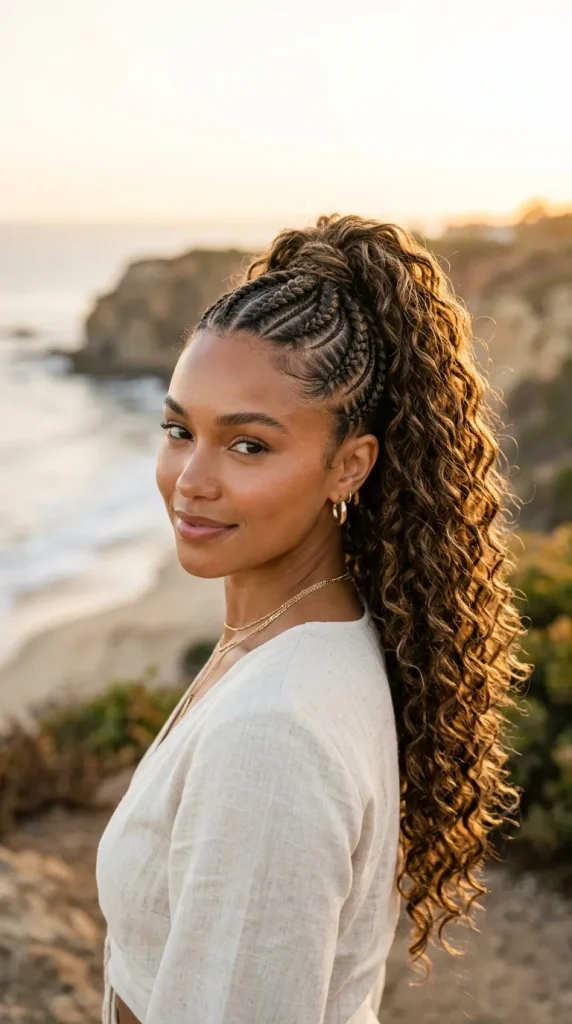
For a look that exudes effortless glamour, the mermaid goddess ponytail is unmatched. This style features sleek cornrows feeding into a high, voluminous ponytail that is wrapped in goddess-braid-inspired weaves. The defining feature is the abundance of loose, curly extensions integrated throughout, giving the ponytail a soft, wavy texture. This style is perfect for those who want the neatness of a braided base with the dramatic volume of a full-head set of curls, creating a beautiful contrast between the structured scalp and the free-flowing ends.
How to Make
Part your hair in a radial pattern, feeding the braids toward the center of your head. Secure all braids into a high ponytail. Add long, curly braiding hair extensions to the ponytail using a crochet method or by wrapping the hair around the base. To get the “goddess” effect, ensure the curly ends are left out at various intervals down the length of the ponytail. Use a light curling cream on the synthetic hair to define the waves and add shine, ensuring the transition from braid to curl is seamless.
Things Needed
- Curly braiding hair extensions
- Crochet hook (if using)
- Smoothing gel
- Styling mousse
- Hair ties
- Shine spray
3. Asymmetrical Side-Sweep
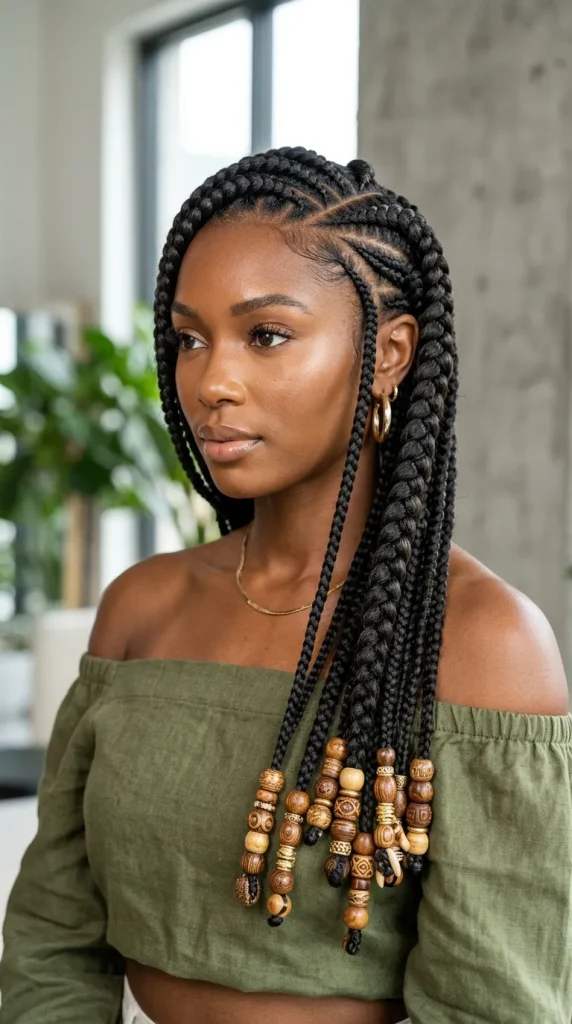
The asymmetrical side-sweep is a modern, edgy take on goddess braids. By sweeping the majority of the hair to one side, you create a dramatic, slanted pattern that highlights your jawline and cheekbones. This look is inherently asymmetrical and feels very high-fashion. It allows for a creative mix of braid sizes—thicker goddess braids interspersed with thinner, intricate cornrows—which adds a beautiful, complex texture to the hair. It is a fantastic option for someone who wants to break away from traditional center or side parts.
How to Make
Section your hair with a deep side part. Start braiding from the temple on the side with less hair, feeding the braids toward the larger side. As you work toward the side with more hair, increase the width of the braids to create that bold “goddess” feel. Let the ends of the braids hang loose, or gather them into a low, messy side bun. Accessorize the thickest braid with beads or thread to emphasize the asymmetry of the style and bring extra attention to the face-framing sections.
Things Needed
- Tail comb
- Edge control
- Wooden or metallic beads
- Styling thread (for wrapping)
- Bobby pins
- Moisturizing scalp oil
4. Half-Up Goddess Knot
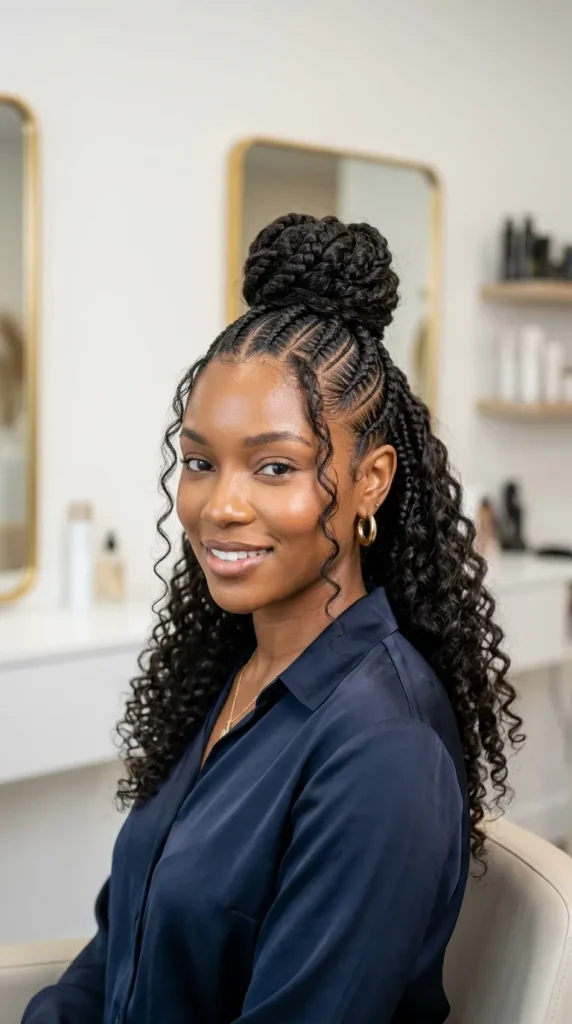
Combining the structured beauty of goddess braids with the casual vibe of a top knot, the half-up goddess knot is incredibly chic. The bottom half of your hair is styled into neat, medium-sized goddess braids, while the top section is gathered into a high, full bun. This is the perfect style for those who want a practical everyday look that still feels elevated. The “goddess” element comes from the intentional parting and the slight looseness in the braids that gives them a soft, textured appearance.
How to Make
Divide your hair into two sections: top and bottom. Style the bottom section into straight-back goddess braids. For the top section, gather the hair into a high ponytail and wrap it into a tight, secure bun. Leave a few loose, curly tendrils out at the front to frame the face. Wrap a gold cord or leather strip around the base of the bun to add a touch of personality. Apply a little bit of sheen spray to the length of the braids to ensure they look fresh and well-moisturized throughout the day.
Things Needed
- Gold cord or leather wrap
- Small hair ties
- Smoothing pomade
- Sheen spray
- Rat-tail comb
- Hairpins
5. Radiant Radial Goddess Braids
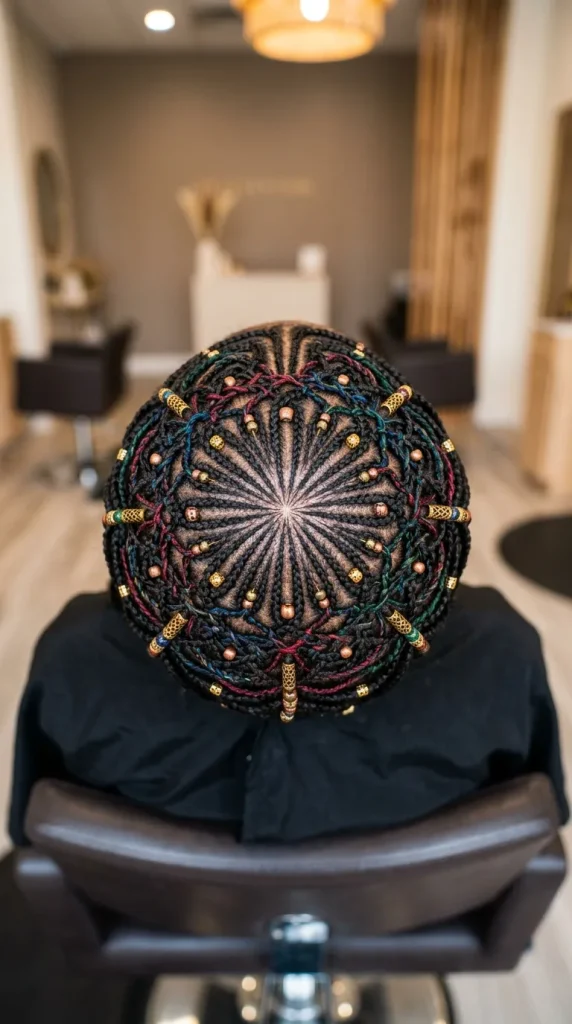
This style is defined by its stunning, circular pattern. Braids radiate outward from the center of the crown, much like the spokes of a wheel. This is an intricate and highly artistic style that showcases the beauty of your natural hair pattern. It is perfect for those who want a protective style that is essentially a work of art. The radial pattern is very flattering and helps to distribute the weight of the hair evenly across the scalp, making it a very comfortable option for long-term wear.
How to Make
Find the center point at the crown of your head and create a circular part. Start your braids at this center point and work your way outward toward the hairline. The braids should be of uniform size to maintain the radial aesthetic. Once you reach the perimeter, let the ends hang down freely, or braid them down to the very end for a more finished look. Use a soft-bristled brush to keep the roots smooth as you braid. This style takes a bit of time, so ensure you have a comfortable seat!
Things Needed
- Rat-tail comb
- Soft-bristled smoothing brush
- Edge control
- Styling gel
- Hair beads for the ends
- Scalp oil
6. Goddess Braid Bob
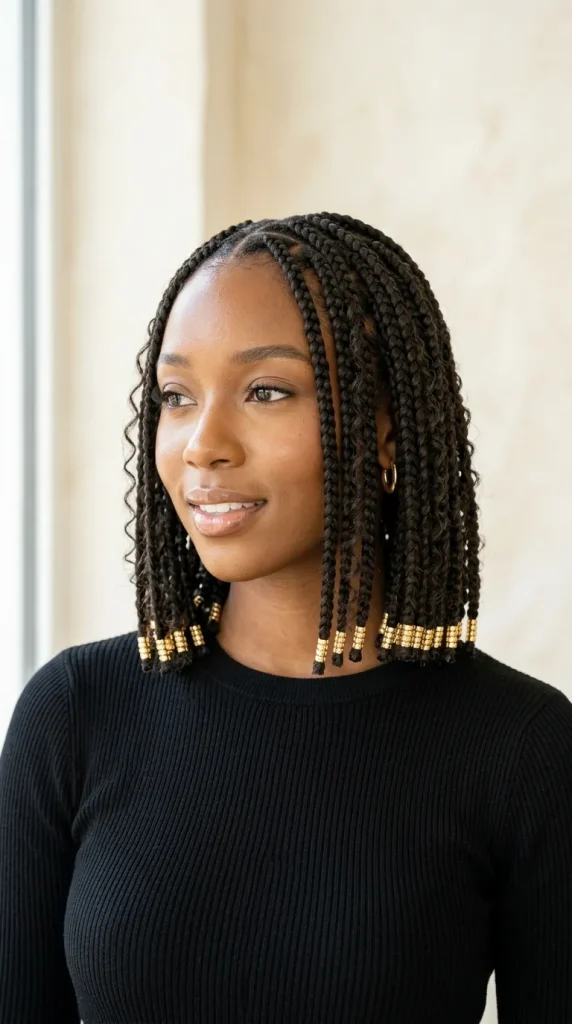
If you love the goddess look but prefer a shorter style, the goddess braid bob is a refreshing change. The braids are cut at a blunt bob length, usually hitting at the chin or neck. This style is incredibly stylish and low-maintenance. Because the hair is shorter, it is lighter and easier to manage during daily activities. The ends can be finished with delicate gold beads or left blunt. This style frames the face beautifully and looks very sharp with casual and dressy outfits alike.
How to Make
Section your hair into thick, vertical cornrows. Braid them back, but instead of braiding to the ends of long hair, stop at the desired bob length. Secure each braid with a small, clear elastic and tuck the loose ends underneath using a crochet hook, or finish with a decorative bead. To get that crisp, bob look, you may need to trim the ends of your braiding extensions. Ensure the braids are tight at the root to maintain that clean, sculpted bob shape throughout the life of the style.
Things Needed
- Clear hair elastics
- Crochet hook
- Sharp scissors (for trimming)
- Decorative beads
- Styling gel
- Silk bonnet (for sleeping)
7. The Layered Goddess Loop
This style is all about depth and drama. By creating varying sizes of braids—layering smaller, tighter cornrows between larger, looser goddess braids—you create a rich, multi-dimensional texture. This is a very creative look that feels intentional and well-designed. The “loops” refer to the way the larger braids can be styled to create soft, rounded shapes along the scalp. It is a fantastic choice for those who want a protective style that doesn’t look like a standard, flat braid pattern.
How to Make
Plan your pattern before you start braiding, alternating between thin cornrows and thick goddess braids. As you braid, do not pull the larger braids too tightly; allow them to have a bit of a “poof” or “loop” to create that voluminous goddess effect. Secure the ends of the braids with gold cuffs to add a pop of color and formality. Keep your edges laid and smooth by using a firm-hold edge control gel, which will balance the “messy” texture of the loops with a sharp, clean hairline.
Things Needed
- Firm-hold edge control
- Decorative gold cuffs
- Tail comb
- Styling gel
- Rat-tail comb
- Scalp soothing spray
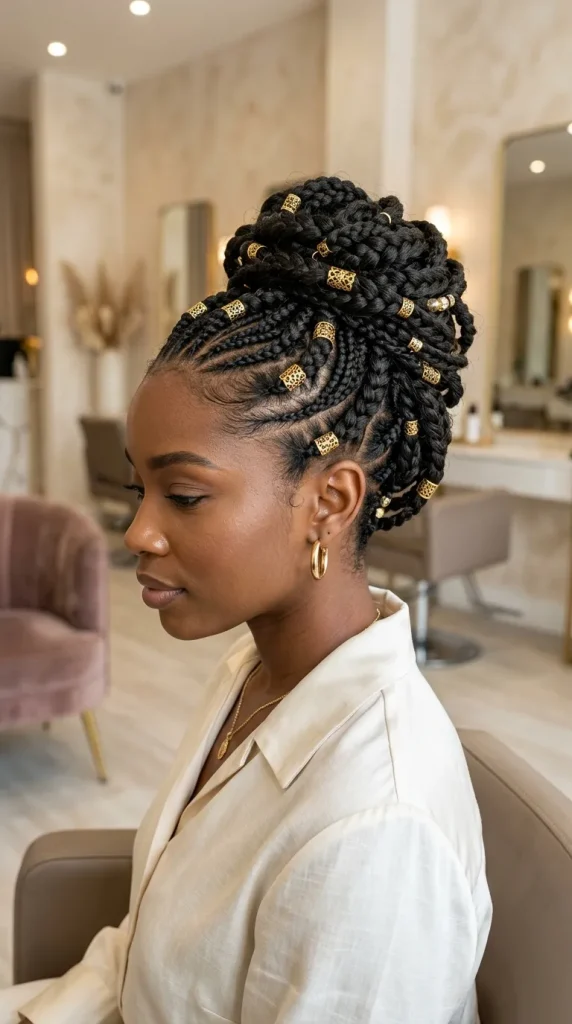
8. Goddess Braids with Curly Tendrils
This is the quintessential “boho” goddess style. The base consists of neat, medium-sized braids that transition into loose, flowing curls. You can decide how much curly hair to incorporate—either at the ends of the braids or by having individual curly strands throughout the length of the braid. This style is incredibly feminine and soft, giving you the benefit of a protective style with the look of a full-head curly weave. It is ideal for those who want a romantic, soft-focus look that feels very light and breezy.
How to Make
Begin by braiding your hair, but use a technique where you incorporate the curly braiding hair into the braid itself at regular intervals. When you get to the end of the braid, leave about two to three inches of the curly hair loose. To achieve that “goddess” look, take individual pieces of the curly hair and weave them through the braid intermittently, letting them hang down. Use a small amount of curling cream on the curly extensions to prevent them from tangling and to maintain that soft, romantic texture.
Things Needed
- Curly braiding hair extensions
- Curling cream
- Styling mousse
- Rat-tail comb
- Bobby pins
- Scalp oil
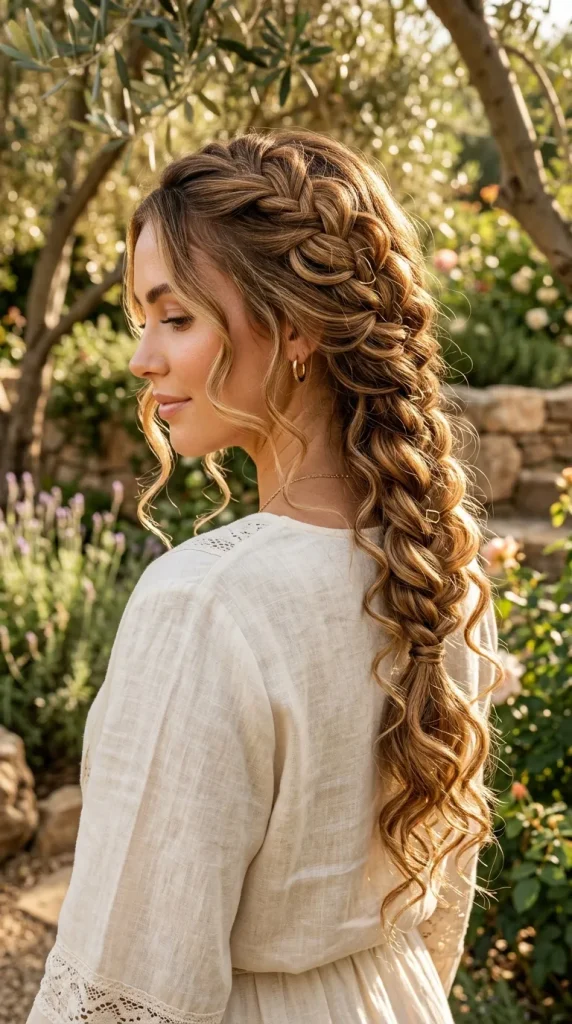
9. Geometric Goddess Design
For those who love clean lines, a geometric goddess braid design is a must. This style uses angular parts—triangles, zig-zags, or box shapes—to create a visually interesting base for your goddess braids. The braids themselves remain the focal point, but the geometry of the parts adds a modern, artistic touch. This is a very structured style that looks incredibly professional and sharp. The precision of the parts makes the braids look even more prominent and well-defined, elevating the entire hairstyle into a high-end, artistic look.
How to Make
Use a rat-tail comb to map out your geometric shapes on your scalp. Zig-zag parts are classic, but diamond or triangle shapes create a very modern look. Braid each section into a goddess braid, starting from the perimeter and working toward the center or back. Because the parts are so visible, take your time ensuring each line is razor-sharp. Use a light application of grease or oil on the parts to make them stand out even more. The sharp parts perfectly complement the thickness and softness of the goddess braids.
Things Needed
- Razor-sharp rat-tail comb
- Parting grease
- Styling gel
- Firm-hold edge control
- Bobby pins
- Silk headwrap
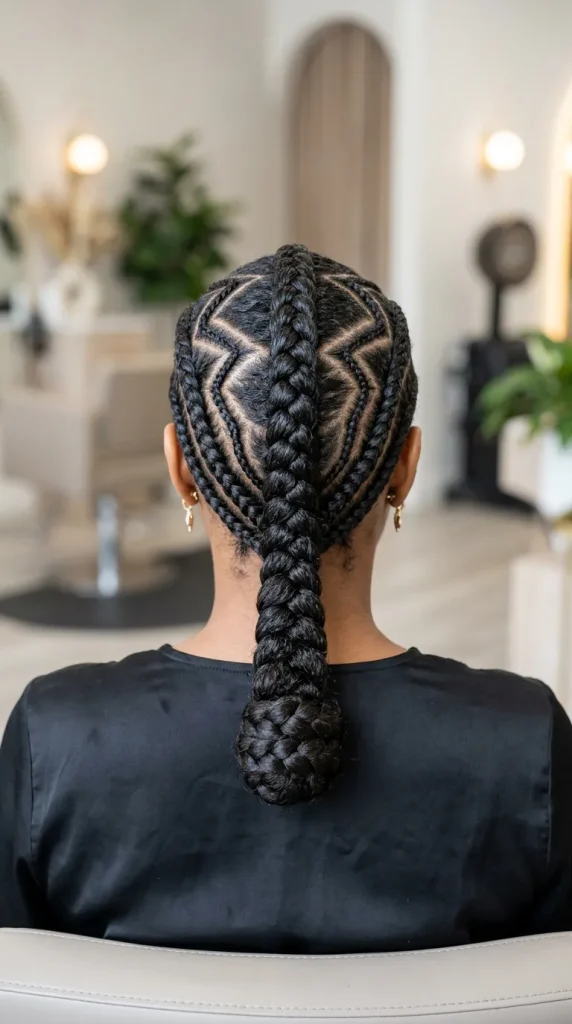
10. The Waterfall Goddess Braid
The waterfall goddess braid is inspired by the technique of leaving strands out as you braid. In this version, the braid moves across the head, and at each section, a piece of curly hair is left out to “cascade” down. It is a stunning, dramatic look that feels very ethereal and fairy-tale-like. The combination of the thick, structured braid and the cascading curls creates a beautiful flow of texture. This style is perfect for an occasion where you want to feel especially romantic and whimsical, like a date night or a special event.
How to Make
Start braiding across your hairline. Every time you cross over a section, drop a small piece of the curly extension hair and pick up a new piece from the base. This creates the “waterfall” effect. Continue this pattern across the entire head. Ensure the curly hair is high-quality, synthetic “human hair texture” for the best movement. This style requires a bit of patience to get the cascading curls to lie flat, but the end result is a masterpiece of texture and volume that looks incredibly luxurious.
Things Needed
- High-quality curly extension hair
- Detangling spray
- Rat-tail comb
- Bobby pins
- Styling mousse
- Decorative hair charms (optional)