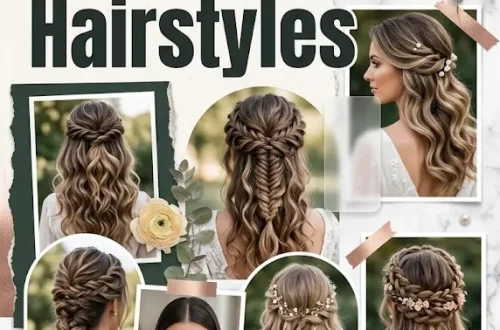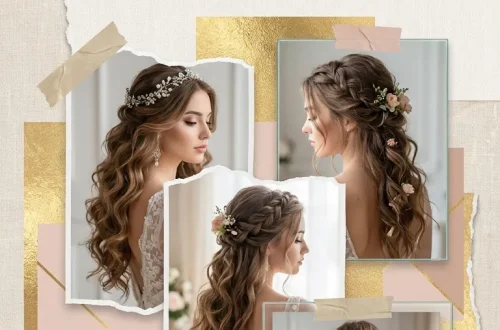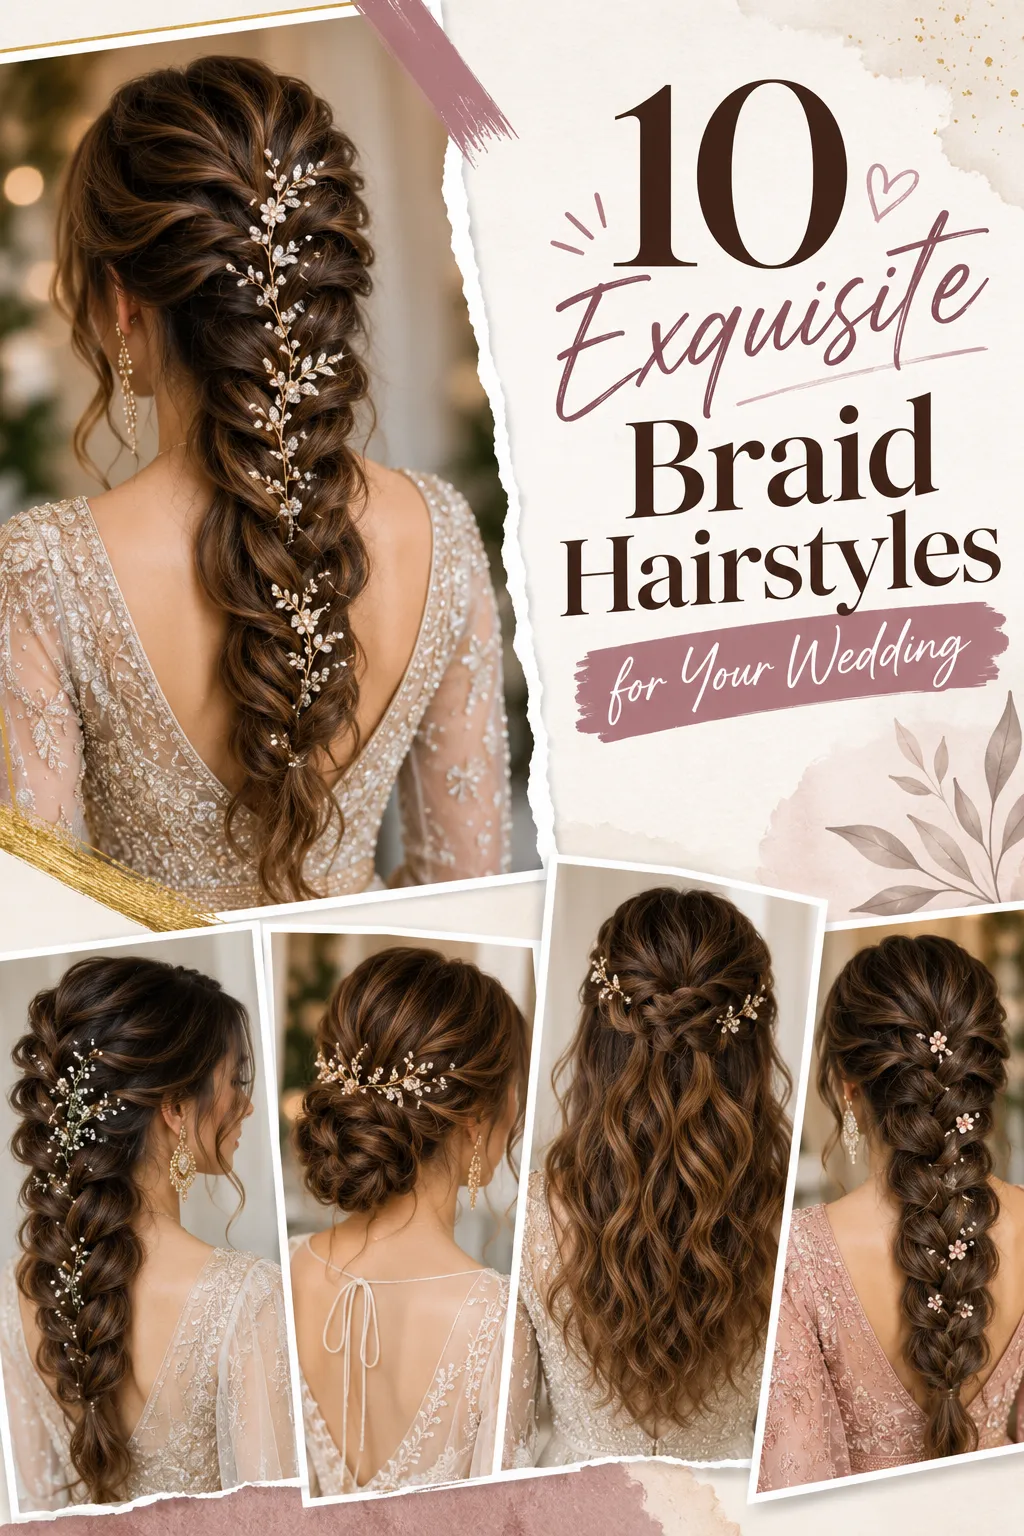
Braids are the ultimate bridal accessory, offering a perfect marriage of structural security and romantic artistry. Whether you desire a look that is effortless and airy or refined and regal, a braided hairstyle ensures your hair remains beautiful from your first look to the final dance. Because braids can be adapted to any hair texture or length, they provide a bespoke foundation for veils, hair vines, and fresh florals.

Below are ten distinct braided wedding concepts, each crafted to elevate your bridal silhouette with texture, grace, and an undeniably sophisticated charm.
1. The Dutch Crown of Romance
This style features a soft, voluminous Dutch-braided crown that frames the face, transitioning into loose, cascading waves. By gently pulling on the edges of the braid, you create a “pancake” effect that adds significant width and a dreamy, ethereal quality. It is the perfect choice for an outdoor garden wedding, providing a soft silhouette that complements lace or flowy chiffon gowns. This look is exceptionally romantic and ensures your hair stays off your face while maintaining a whimsical, storybook aesthetic.
How to Make
Begin by creating a deep side part. Start your Dutch braid at the hairline, feeding in small sections of hair as you work your way around the crown of your head. Once you reach the opposite side, pin the end of the braid securely underneath the crown to create a seamless circle. Use your fingers to gently pull at the loops of the braid to create fullness. Finish by curling the remaining loose hair with a large-barrel iron to achieve soft, romantic movement. Use a light-hold flexible spray to ensure the crown remains secure but still has natural movement.
Things Needed
- Texturizing spray for grip
- Fine-tooth tail comb
- Bobby pins (matching hair color)
- Large-barrel curling iron
- Flexible-hold hairspray
- Decorative hair vine (optional)

2. Intricate Fishtail Updo
The fishtail braid is arguably the most elegant of all weaves, offering a dense, intricate texture that looks incredibly polished. When gathered into a low, structured updo, it creates a clean, sophisticated silhouette that feels timeless. This look is ideal for brides who want to highlight statement earrings or a dress with a detailed, high-fashion neckline. Because the fishtail weave is so tight, this style is exceptionally durable, making it an excellent choice for long wedding days and formal reception settings where you need your hair to stay perfectly in place.
How to Make
Start by gathering your hair into a low ponytail and securing it with a clear elastic. Create a tight fishtail braid by weaving small, outer strands of hair across to the opposite side repeatedly until you reach the ends. Once finished, pancake the braid significantly to expand its width. Carefully coil the braid into a chignon or low bun at the nape of the neck, securing it with multiple bobby pins. Tuck the ends of the braid underneath to conceal the elastic. Spray thoroughly with a high-hold finishing spray to maintain the integrity of the tight weave.
Things Needed
- Clear hair elastics
- Fine-tooth comb
- Sturdy bobby pins
- High-hold finishing spray
- Smoothing pomade for flyaways
- Pearl or crystal hair pins

3. Romantic Side-Swept Waterfall
A waterfall braid is characterized by sections of hair being left out, mimicking the gentle flow of water. Sweeping this braid to one side allows you to incorporate beautiful, bouncy curls while still enjoying the security and artistic detail of a braid. This style is incredibly versatile, providing a soft, feminine aesthetic that is perfect for asymmetrical dress necklines. By leaving the lower sections of hair free, you create a lush, full-bodied look that feels natural, accessible, and deeply romantic for a variety of wedding themes.
How to Make
Part your hair where you prefer. Start a waterfall braid on one side of your head, dropping a section of hair after every weave and picking up a new section from the crown. Continue this across the back of the head. Once you reach the opposite side, continue with a standard braid and pin it discreetly behind the ear. Use a curling wand to style the remaining loose hair into soft, beachy waves. If desired, tuck fresh baby’s breath or small white rosebuds into the waterfall sections for a delicate, garden-inspired touch.
Things Needed
- Sectioning clips
- Curling wand (1-inch barrel)
- Small clear elastics
- Fresh floral sprigs
- Flexible-hold hairspray
- Detangling mist

4. The Regal Braided Chignon
Combine a classic, low, smooth bun with a thick, side-parted braid that feeds directly into the chignon. This style offers a clean, polished finish that feels both traditional and modern. The braid adds a layer of depth and interest to a standard bun, creating a focal point that is visible from both the front and the back. It is exceptionally durable, making it a reliable choice for brides who are concerned about hair staying secure during hours of dancing. The overall effect is sophisticated, elegant, and highly structured for a formal wedding.
How to Make
Leave a wide section of hair near the front for the braid. Pull the rest of the hair into a low ponytail and fashion it into a smooth, rounded chignon. With the remaining front section, create a thick Dutch or French braid, working from the hairline toward the bun. Once you reach the chignon, wrap the end of the braid around the bun and secure it with hidden pins. Use a smoothing brush and a light pomade to ensure the top of your head is sleek and free of any bumps or flyaways.
Things Needed
- Smoothing brush
- Light styling pomade
- Sturdy bobby pins
- Clear hair elastics
- Strong-hold finishing spray
- Decorative comb (optional)

5. Messy Boho Side Braid
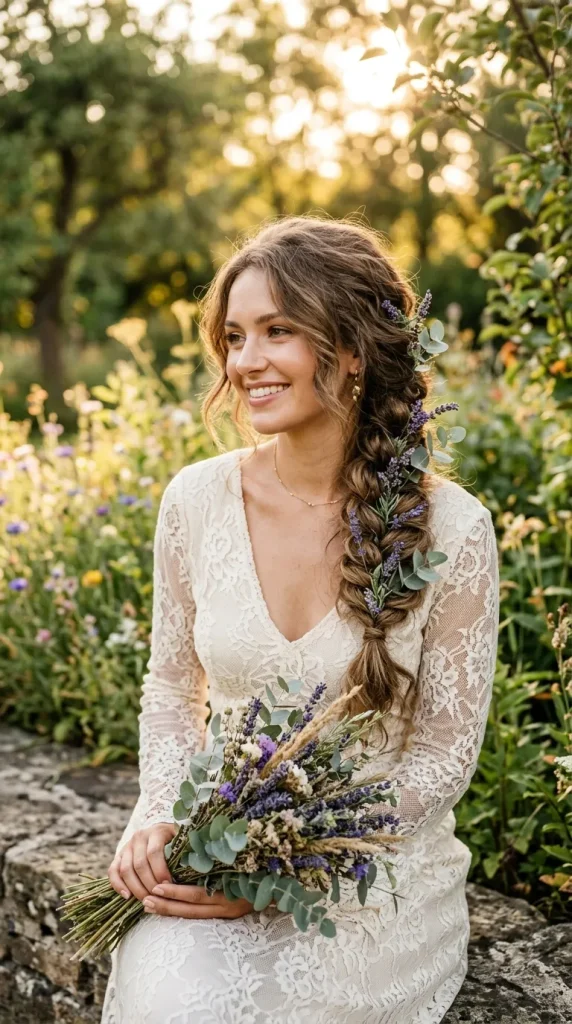
For the effortless, “cool-girl” bride, a loose, oversized side braid decorated with rustic foliage or wildflowers is unmatched. This style is all about texture, utilizing volume-boosting powders to create a thick, lived-in feel that looks intentionally romantic. It is perfect for beach weddings, destination elopements, or brides wearing minimalist, lace-trimmed dresses. The “messiness” is actually a carefully styled technique that gives the braid its massive, full-bodied appearance, making it appear as if you have much thicker hair than you might actually have.
How to Make
Prep your hair with a dry texture spray or volumizing powder from roots to ends. Gather all your hair to one side and begin a loose three-strand braid. Do not pull the strands tight as you weave. Once you have reached the end, secure with a clear elastic. Now, go back through the braid and pull on each loop, starting from the bottom and working upward, to expand the braid to its maximum potential. Let a few wispy, face-framing pieces fall naturally around your temples. Tuck in small sprigs of eucalyptus or lavender for a boho finish.
Things Needed
- Volumizing dry shampoo or texture powder
- Clear hair elastics
- Fresh wildflowers or greenery
- Flexible-hold hairspray
- Tail comb for teasing
- Hair oil for ends

6. Crown-of-Gold Halo Braid
This style uses a French braid to create a halo effect high on the crown. It keeps your hair entirely away from your face, which is perfect for summer ceremonies or humid environments where you want to remain cool. You can weave in pearl pins or tiny crystals to make the halo look truly celestial and high-end. This is a very clean, minimalist silhouette that showcases the shape of your head and the neckline of your gown beautifully, providing a timeless, almost historical elegance.
How to Make
Divide your hair into two sections, as if you are making pigtails. Braid each section into a French braid, starting from the nape and working toward the front. Once both braids are finished, pull one over the top of your head and pin it near the opposite ear; do the same with the other braid, creating a seamless “halo” across your crown. Use bobby pins to tuck away any stray ends. If you want a more formal look, place pearl-tipped pins at intervals along the braid to create a “crown-of-gold” effect.
Things Needed
- Fine-tooth comb
- Bobby pins
- Pearl or crystal-tipped pins
- Strong-hold hairspray
- Smoothing cream
- Clear elastics
7. The Victorian-Inspired Braided Rope
Using the “rope” or “twist” technique rather than a traditional three-strand braid, this style creates a sophisticated, antique look. When pulled back into a half-up style, it creates a striking focal point at the back of the head. This technique looks incredibly complex, yet it is quite simple to execute, offering a high-end look without the need for constant maintenance. It is perfect for vintage-themed weddings and gowns that feature intricate lace, high collars, or long, Victorian-inspired sleeves.
How to Make
Take two sections of hair from either side of your head. Twist each section individually in the same direction, then twist them around each other in the opposite direction. This creates a “rope” braid. Once you have two of these, pull them back to the center of your head and secure them with a decorative barrette or a cluster of fresh flowers. For added romance, curl the remaining loose hair into soft, vintage-style finger waves. This style keeps the front of your face clear while providing plenty of intricate detail at the back.
Things Needed
- Decorative barrette or clip
- Texture spray
- Curling iron
- Smoothing serum
- Sturdy bobby pins
- Flexible-hold spray

8. Braided Ponytail with Hidden Elastics
Elevate a simple ponytail by adding a braid down the center or a wrap-around braid at the base. This provides the sleekness of a classic ponytail with the added interest and texture of professional bridal styling. It is a fantastic choice for modern, sleek wedding themes or brides wearing dresses with striking, open-back designs. The hidden elastics make the style look polished and expensive, as you can wrap a strand of hair around your elastic to ensure a seamless, professional finish that hides any rubber bands.
How to Make
Pull your hair into a high, sleek ponytail using a smoothing brush. Take a thin strand of hair from the underside of the ponytail and wrap it around the base to hide the elastic, pinning it securely underneath. On the top of the ponytail, create a loose, three-strand braid that runs down the length of the tail. Gently pull the loops of the braid to create volume. For a high-fashion touch, spray the entire ponytail with a high-shine glossing mist to ensure it looks incredibly healthy and reflective.
Things Needed
- Smoothing brush
- High-shine glossing mist
- Sturdy hair ties
- Bobby pins
- Smoothing pomade
- Tail comb

9. Double-Layered Dutch Braids
Two Dutch braids starting at the front hairline and feeding into one large, loose braid at the back offer a dramatic, multi-layered look. This style adds incredible dimension, making it a fantastic choice for brides with highlights, balayage, or ombre, as the layers of the braid will show off the various tones in your hair. It is a very maximalist bridal style that feels intricate and well-planned, perfect for brides who love high-detail, visible styling that stands out in wedding photography.
How to Make
Part your hair in the middle. Create two Dutch braids starting at your forehead, working backward toward the center of your head. When you reach the back, merge the two braids into one singular, large three-strand braid. Once combined, pull significantly at the edges of every loop to maximize the size of the braid. Secure with a clear elastic and tuck a decorative hair comb where the two braids meet the single braid for a bit of sparkle. Use a touch of texture powder on the braids to keep them thick and full.
Things Needed
- Texture powder
- Decorative hair comb
- Clear hair elastics
- Fine-tooth comb
- Flexible-hold hairspray
- Smoothing cream for the hairline

10. The Floral-Embellished Pull-Through
The pull-through braid creates the illusion of a much thicker, more complex braid than a standard one, making it ideal for brides with thinner hair. By pulling at the edges and inserting tiny, fresh floral sprigs into each “loop,” you create a stunning, voluminous texture that looks like a literal garden crown. This style is whimsical, soft, and romantic, making it the perfect choice for spring or summer weddings. It provides a massive amount of volume and interest, ensuring you feel like a garden goddess on your special day.
How to Make
Start with a high ponytail and secure it. Add a second elastic a few inches down, then pull the hair from the first section through the middle of the second section. Continue this process all the way down. After each “loop” is created, pull at the edges to give it a thick, rounded shape. Once finished, take small sprigs of fresh baby’s breath, jasmine, or tiny spray roses and tuck them into the center of each loop. Use a few bobby pins to hold the flowers in place, and finish with a light-mist hairspray.
Things Needed
- Multiple clear hair elastics
- Fresh flower sprigs
- Bobby pins
- Texture spray
- Light-mist hairspray
- Detangling brush

Bridal Braiding Essentials
- Prep is Everything: Braids hold best on “day-two” hair or hair prepped with a dry texture spray. Freshly washed hair can be too slippery to maintain the structure of an intricate braid.
- Schedule a Trial: Always book a hair trial at least 4–6 weeks before your wedding. This ensures you know how the weight of the braid feels and allows you to adjust the volume or style before the big day.
- Accessory Balance: If your dress is heavily beaded or has a complex lace pattern, consider keeping your hair accessories more understated. If your dress is simple and minimalist, you can be bolder with crystals, pearls, or fresh flowers.
- Flyaway Management: Have your stylist use a tiny bit of clear brow gel on a spoolie brush to smooth down any stubborn flyaways along your hairline; it provides a much more precise hold than traditional hairspray.